Project Pitch: My Work Community Portal
America’s Seed Fund powered by NSF accepts Project Pitches from startups and small businesses through its MyWork Community portal.
This user guide will provide information on accessing the portal and assist new and existing users in creating and submitting pitches and respond to any active Project Pitches and/or Program Director requests in the MyWork Community portal. For additional information, visit the Project Pitch page. (Download a PDF version of this guide.) Please contact tip-ti-tech-support@nsf.gov for technical assistance.
New User
Account Creation
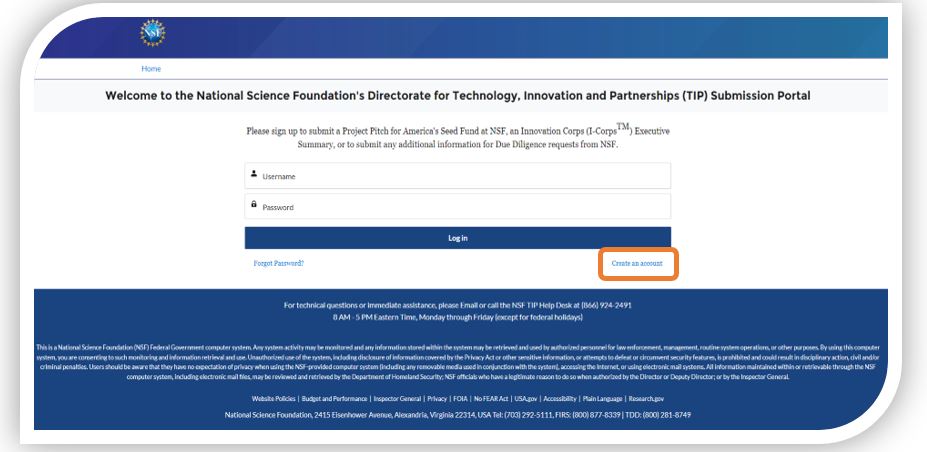
Go to nsfgov.my.site.com
- Select “Create an account” to register.
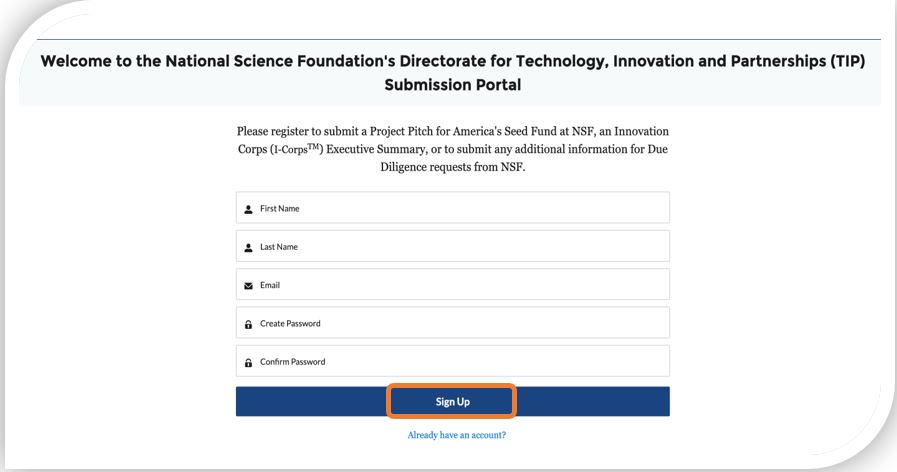
- Fill in:
a. First Name
b. Last Name
c. Email
d. Create Password
e. Confirm Password - Click on “Sign Up” to be routed to the MyWork Communities Home page.
Existing Users
- Enter “Username” and “Password” (existing credentials).
- Click on “Log In” to be routed to the MyWork Communities Home page.
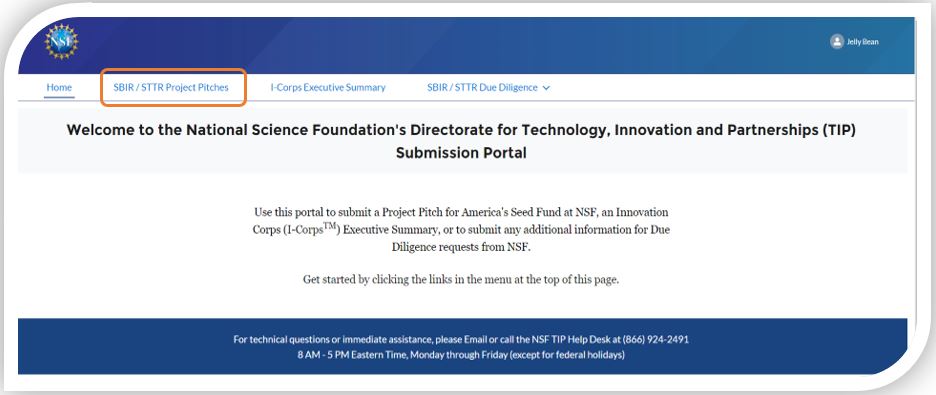
1. Submit Project Pitch
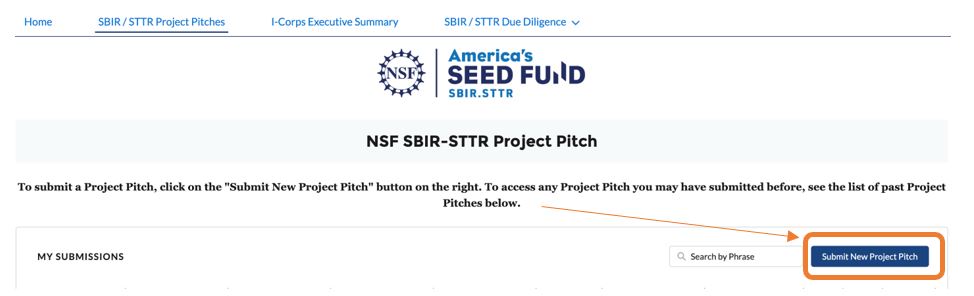
- On the Home page, select “SBIR/STTR Project Pitches” in the navigation bar.
- Select “Submit New Project Pitch” to submit a new pitch.
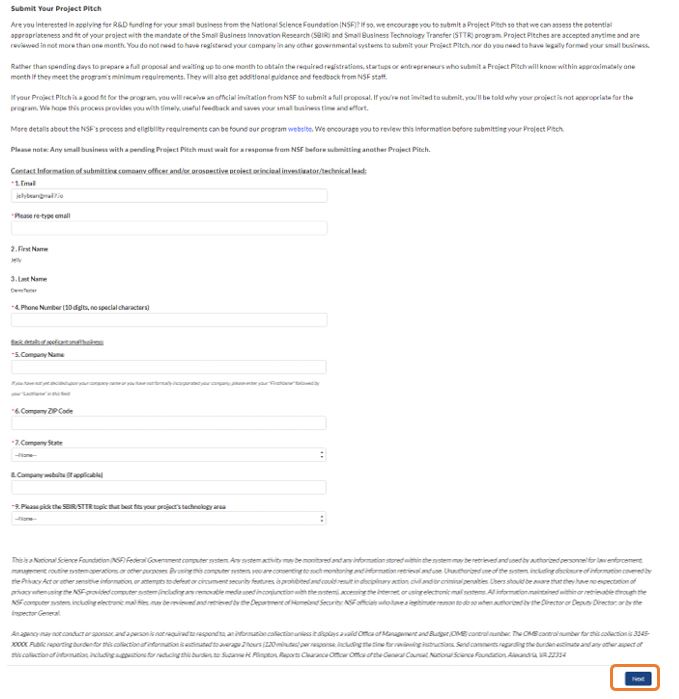
- The new Project Pitch submission form is displayed.
- Enter the required details.
- Select “Next”.
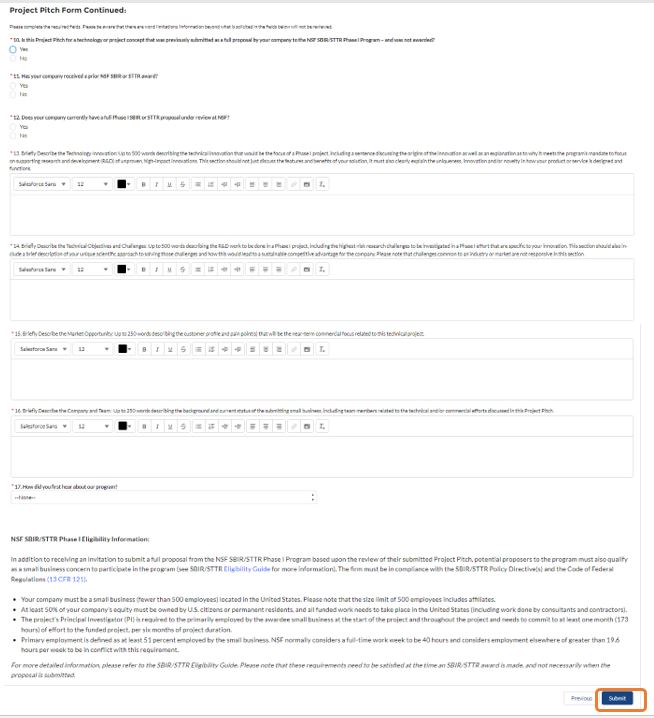
- Continue to enter the required details.
- Select “Submit”.
- Upon submission, a confirmation information is displayed.

2. Edit Existing Project Pitch
This step allows users to edit a Project Pitch that is only either in New or Incomplete status.
- Click on the Edit icon to edit the Project Pitch in “New” or “Incomplete” status.
NOTE: The edit must be done within the same calendar date or else the Project Pitch is non-editable.
- The selected Project Pitch form is displayed.
- If editing a pitch in the New status, edit any fields as needed.
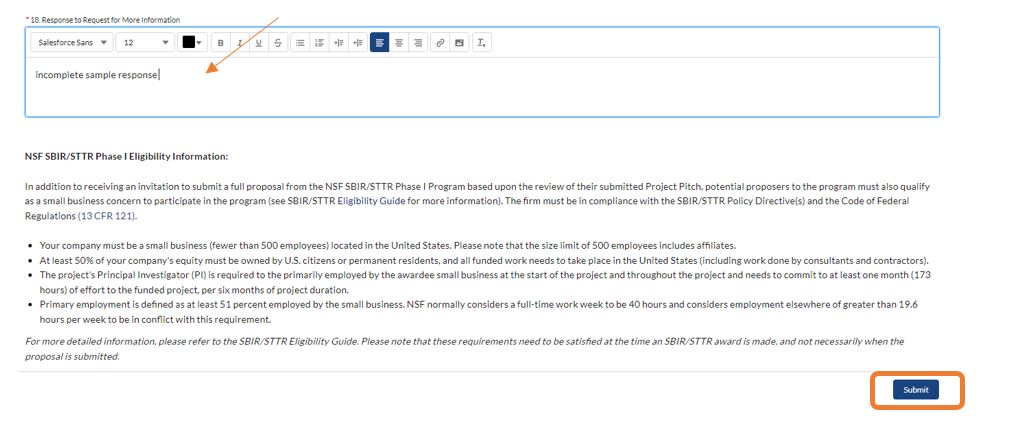
- If editing a pitch in the Incomplete status, enter the details in the “Request for more Information” field. (Note: All other fields are non-editable.)
- Select “Next”.
- Select “Submit”.
- Upon submission, a confirmation information is displayed.
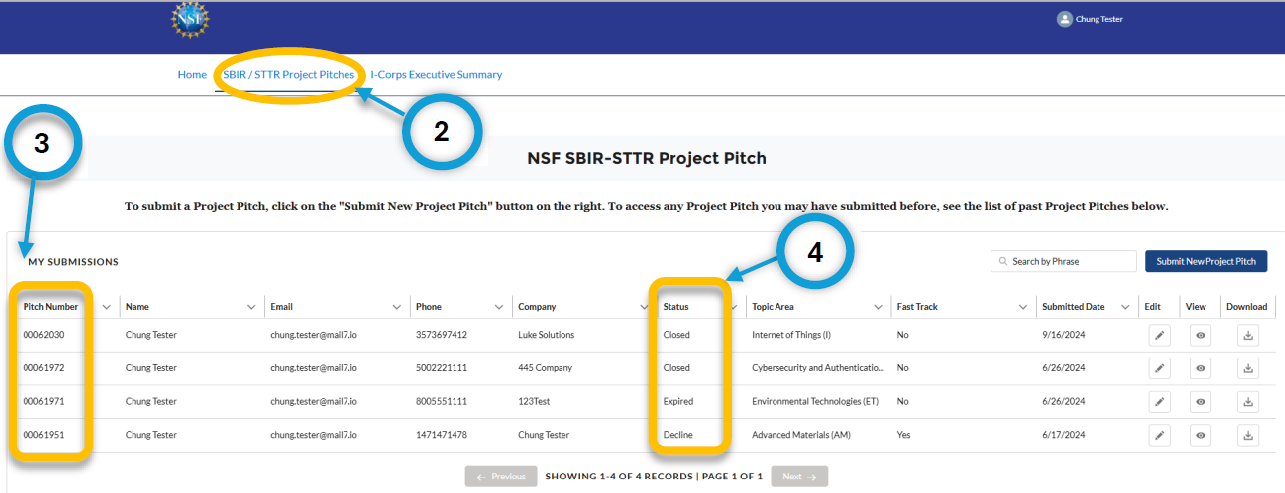
3. Check Project Pitch status
To check the status of your Project Pitch, follow the below instructions.
- Go to nsfgov.my.site.com and login using existing credentials.
- Navigate to “SBIR/STTR Project Pitches” tab.
- All the submitted pitches will be listed under “My Submissions”.
- Status for each project pitch is listed.